KEY TO SUCCESS! Ensure A Perfect Chroma Key with Our Free Checklist
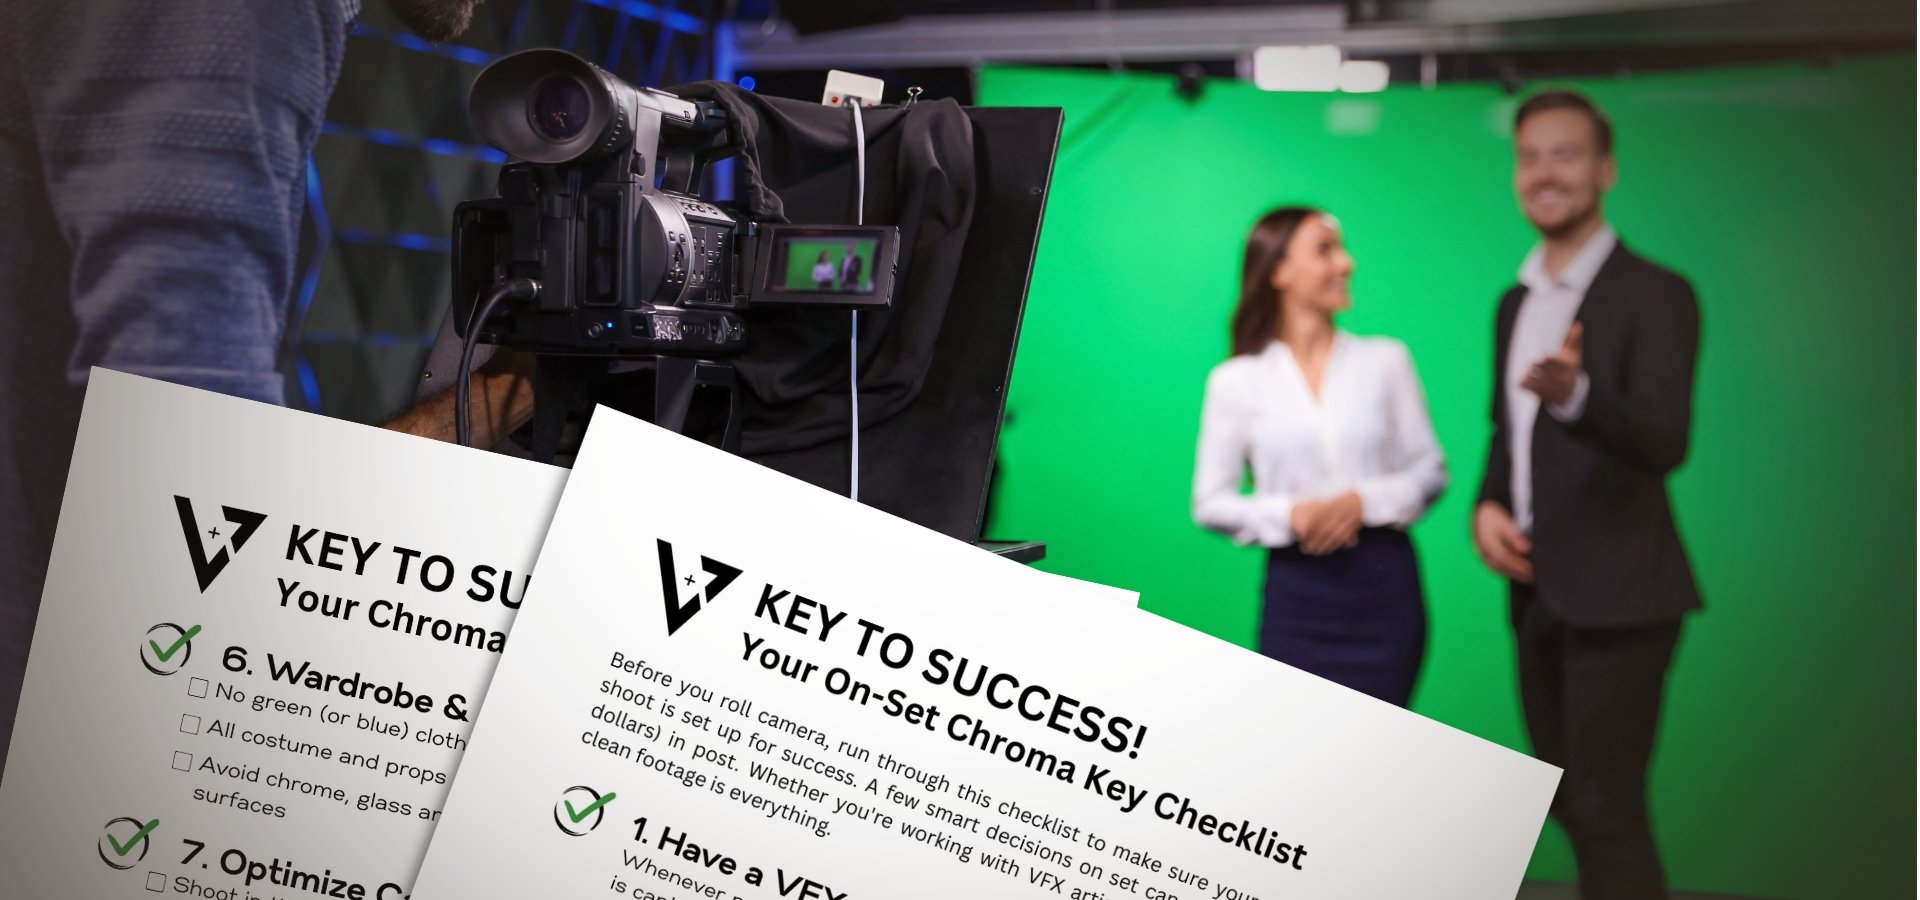
Our free Chroma Key Checklist PDF gives you a concise reference for green screen success—but if you’re looking to dig deeper into why these steps matter, and how to apply them effectively, this article is for you. Whether you're shooting a short film, commercial, or feature, these expanded insights will help you save time, money, and frustration in post-production.
🎯 1. Have a VFX Supervisor On Set
This isn’t just a nice-to-have—it’s often the difference between a seamless composite and an expensive reshoot. A VFX Supervisor is there to ensure every frame is captured with post-production in mind. They’ll watch for things like uneven lighting, green spill, tracking needs, and reflections that others might overlook.
When this responsibility falls on a director or DP (who are already juggling a thousand things), critical VFX issues can easily slip by. If your production involves any significant visual effects, budgeting for a VFX Supervisor on set is one of the best investments you can make.
🎬 2. Prep the Screen
Think of your green screen as a visual canvas—and wrinkles, seams, and texture are the equivalent of rips in that canvas. For best results:
Use a clean, taut green or blue screen
Stretch fabric tight or use a seamless solid backdrop
Make sure all screens match in color tone if you're using more than one
Even small variations in color or texture can make keying difficult and time-consuming.
💡 3. Light the Background Evenly
Inconsistent lighting on your green screen will lead to uneven keying, patchy transparency, and more rotoscoping than anyone wants. The solution?
Use soft, diffused lighting
Position lights to eliminate shadows and hot spots
Light the screen independently from your subject
Check your monitor or waveform to make sure the screen reads as a consistent tone across the frame.
🎭 4. Light the Subject Separately
Lighting your subject correctly ensures they blend seamlessly into the composite background. The key is separation—both visually and physically.
Match your subject’s lighting to the environment you’ll key them into
Use rim or backlighting to create visual separation from the screen
Prevent subject shadows from falling onto the green screen
This also helps reduce green spill, one of the most common issues in chroma key footage.
🛑 5. Control Spill & Shadows
Green spill occurs when light bounces off the screen and reflects onto your subject’s skin, hair, or clothing. This can make edges look unnatural and complicate the key.
To control it:
Place your subject 6–10 feet from the screen
Use black flags or negative fill to block bounce
Avoid reflective surfaces in your scene
Creating distance between subject and screen goes a long way in preventing post headaches.
🎭 6. Wardrobe & Props
What your actors wear—and what they interact with—can either make or break your green screen shot.
No green or blue clothing (depending on screen color)
Avoid chrome, glass, or translucent materials
Choose wardrobe and props that contrast the background
This ensures clean, defined edges and avoids accidental transparency.
📷 7. Optimize Camera Settings
Your camera’s setup directly affects how easy your footage will be to key.
Shoot at the highest resolution available (4K+ preferred)
Use a high-fidelity codec (ProRes 4:2:2 or better)
Lock in exposure and white balance—never use auto modes
Reduce motion blur by increasing your shutter speed
These steps will give your VFX team crisp, clean footage to work with—especially around hair, motion, and fine detail.
🎯 8. Frame for the Final Composite
Don’t just frame your shot for what's in front of you—frame it for the final background that will replace the green screen.
Match the camera angle and lens choice to your digital background
Avoid excessive handheld motion if the shot needs tracking (See 4 Camera Moves That Make VFX HARDER)
Use tracking markers if your camera or subject is moving in 3D space (See Stop Doing THIS With Your GREEN SCREEN!)
Always plan with post in mind.
🎬 9. Test Before You Shoot
Before rolling on your real takes, shoot and review a test clip. On-set monitoring is essential—this is your chance to catch any issues like:
Shadows or wrinkles on the screen
Hot spots or uneven lighting
Wardrobe or reflective problems
Green spill or shadowing on your subject
Make adjustments before the real take to avoid surprises in post.
🔍 10. Bonus Tip: Test WAY Before You Shoot
If possible, do a full pre-shoot test with your planned gear, lighting, wardrobe, and crew. Share that footage with your VFX artist or vendor in advance. This gives them the chance to flag any issues before you're locked into your production day.
This simple step can prevent major rework later—and helps ensure that what you think will work actually does.
💬 When in Doubt, Get a Consult
Still unsure if your setup is VFX-ready? Don’t leave it to chance.
📅 Book a free 30-minute consultation with VFX2GO and let’s talk through your production plan before you shoot.
👉 www.vfx2go.com/freeconsultation